
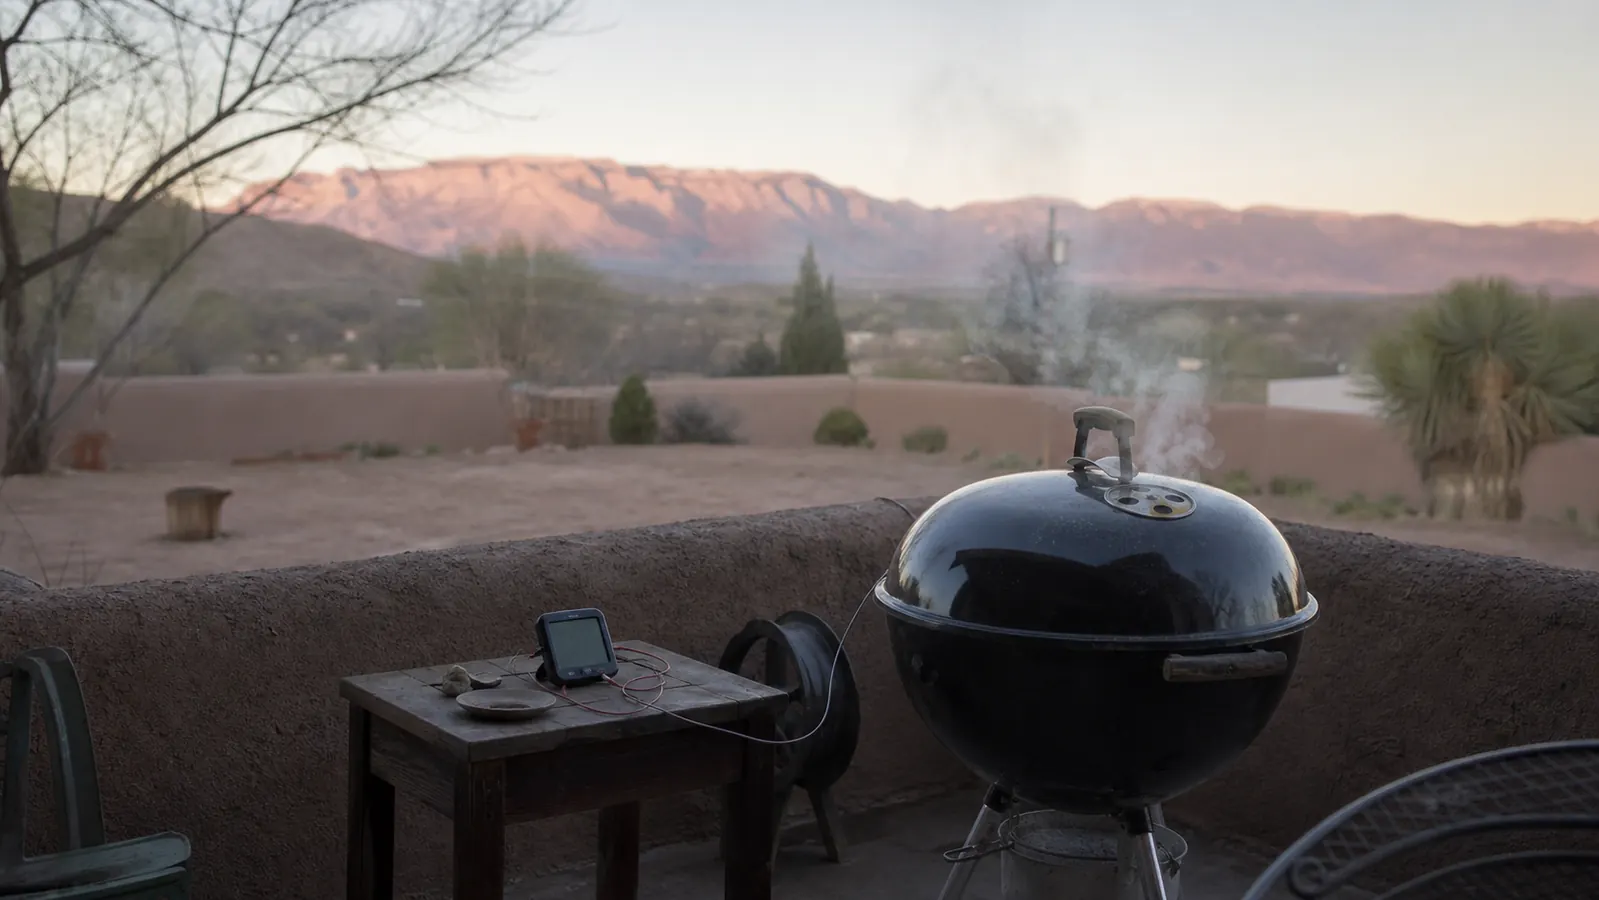
I used to slice into a brisket flat three or four times a cook just to see where I stood, and every one of those cuts let heat and juice out that I never got back. That habit cost me more good briskets than I like to admit before I finally strapped an Inkbird IBT-4XS to my kettle and made myself stop guessing. Cooking at 5,000 feet in Albuquerque adds its own wrinkle on top of the usual doneness guesswork. Water boils around 202 degrees up here instead of 212, stalls run long and unpredictable, and a recipe card written at sea level will lie to you about timing more often than it tells the truth. A wireless thermometer does not fix any of that by itself. What it does is give you real numbers instead of a guess, and numbers are the only thing that consistently beats a lucky poke of the finger.
This is not a review of the Inkbird, I've written that one separately after a full season with it. This is the actual process I use, cook after cook, to get a wireless probe thermometer working for me instead of just beeping at me. Five steps, in the order I actually do them, from picking the right probe before the meat goes on to knowing when to trust the number and pull it off the fire.
Stop Slicing Into Meat Just to Guess If It's Done
Everything in this guide assumes you're running a real wireless probe setup, and the Inkbird IBT-4XS is the four-probe unit I use for nearly every cook that runs longer than an hour.
Amazon Check Today's Price on Amazon →Step 1: Know your target temp before the meat touches the grate
Every cook starts on my kitchen counter, not the grill, deciding two numbers before anything gets seasoned. The first is the food-safety floor for that specific meat. Poultry, whole or ground, needs to hit 165 degrees, no exceptions, no carryover gambling. Ground beef and other ground meats need 160 degrees. Whole cuts of pork and beef are safe at 145 degrees with a three-minute rest, which is the number the USDA hangs its hat on and the one I'd tell anyone new to grilling to trust without deviation.
The second number is the texture target, and that's where personal taste and the food-safety floor split apart. A pork shoulder or brisket destined for pulling or slicing needs to climb well past that 145-degree safety floor, usually into the 195 to 205 degree range, because that's where collagen actually breaks down into something tender. I pull shoulders and brisket flats right around 203 degrees, checked by probing for that buttery, no-resistance feel rather than trusting the number alone. Steaks are the other end of it. USDA's guaranteed-safe number for a whole steak is 145 degrees. I pull ribeyes closer to 130 to 132 degrees because that's the medium-rare my family likes, and whole muscle cuts carry far less bacterial risk than ground meat since any contamination lives on the surface and gets seared off in the first few minutes on the grate. That's a personal choice, not a food-safety claim, and I'd rather say that plainly than pretend everyone should cook a steak the way I do.
Once I know both numbers, I set the Inkbird's high alarm for the meat probe to the texture target, not the safety floor, so I'm not getting nagged by an alarm every time the temp crosses 145 on something headed for 203 anyway. Deciding this before the meat goes on saves you from fumbling with a phone app mid-cook while your hands are covered in rub.
Step 2: Place the probe where it actually reads the meat, not the fat or the bone
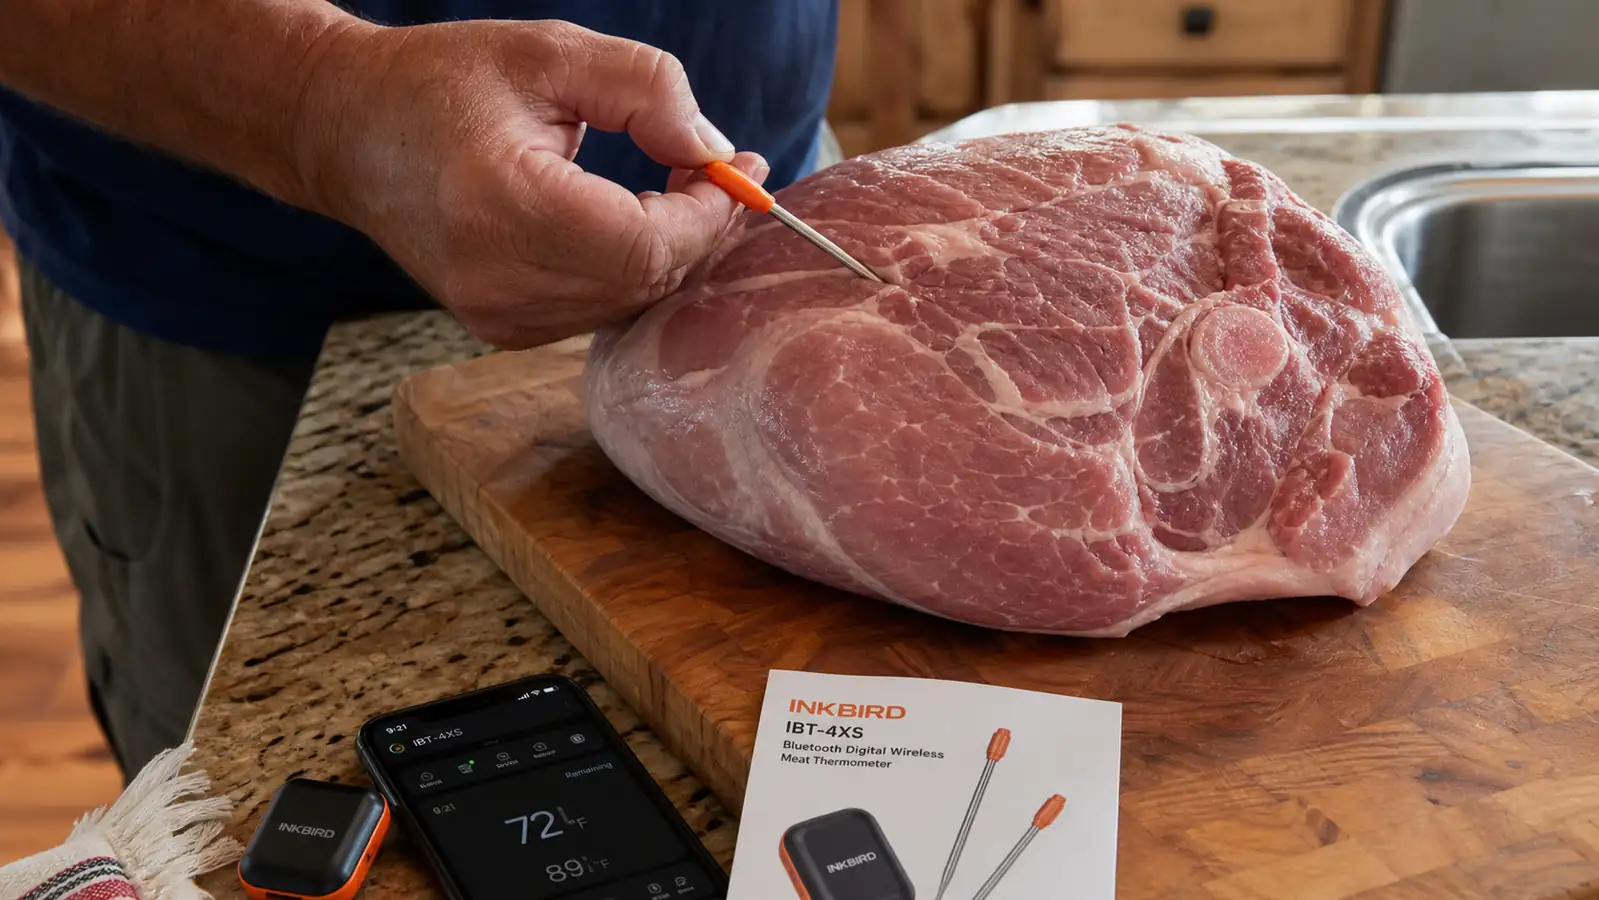
Bad probe placement is the single most common mistake I see, and it's the one that made my early readings useless before I understood what I was doing wrong. The tip of the probe needs to sit in the geometric center of the thickest part of the meat, not near the surface and not resting against bone or a thick fat cap. Bone conducts heat differently than muscle and will read hot, fat pockets insulate and read cool, and a probe resting too close to the grate itself will pick up ambient heat instead of the meat's actual internal temperature.
On a bone-in pork shoulder, I go in at a shallow angle from the side, aiming the tip toward the center of the thickest muscle mass and away from the blade bone entirely. On a brisket flat, I find the thickest point, usually a few inches in from either end, and push straight down until the tip sits roughly in the middle of the meat's thickness, not poking through the far side. On chicken thighs, which run thin and uneven, I aim for the thickest part near the joint and keep the tip away from any bone, since dark meat especially will give you a false-high reading fast if the probe brushes bone.
If you're running more than one probe, which is the whole point of a four-channel unit like the Inkbird, keep a mental map or use the app's channel labels. I've pulled a rack of chicken thighs early because I misread which colored probe boot belonged to which piece of meat, and that's an easy mistake to avoid just by glancing at the app before you walk away from the grill.
Step 3: Use a second probe for ambient temp, and set your alarms wider than you think you need
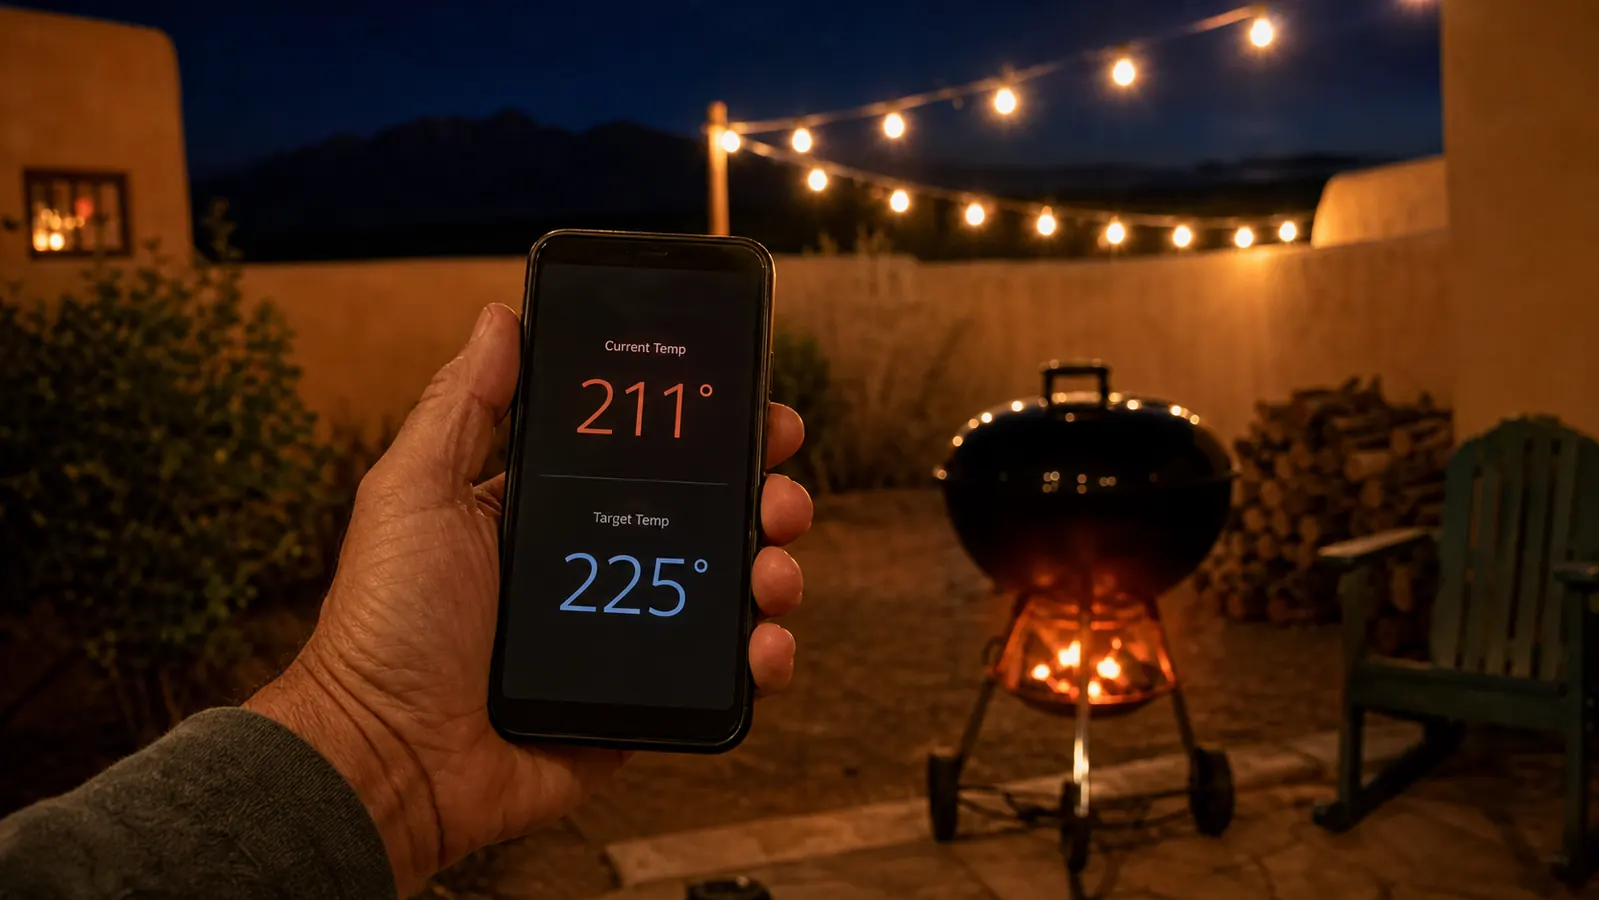
A meat probe alone only tells you half the story. The second probe I run on almost every long cook sits clipped to the grate near the meat, not touching it, reading the air temperature inside the smoker itself. That ambient reading is what tells me if my fire is actually holding steady, and at altitude, where thin air burns charcoal hotter and faster than it does at sea level, fire management drifts more than most recipes account for. I've watched my grate temp climb 20 degrees in twenty minutes on a windy afternoon without that second probe ever telling me, because I was only watching the meat.
For alarms, I set the ambient probe's low alarm about 15 degrees under my target grate temp and the high alarm about 20 degrees over it, wide enough that a normal vent adjustment doesn't set off a false alarm every ten minutes but tight enough to catch a real problem, like a coal bed dying out or a gust pushing the fire too hot. For the meat probe, I set the high alarm 5 to 8 degrees below my actual pull temperature. That buffer gives me time to walk out to the patio, check the bark, and decide if it's really ready rather than getting caught off guard by an alarm going off at the exact number I meant to pull at.
One thing worth knowing before you rely on any of this from inside the house: Bluetooth range drops fast through walls, and adobe construction eats a signal worse than drywall does. I get a reliable connection well past 140 feet in open air on my patio, but once I'm behind two adobe walls in the kitchen, that connection gets shaky past about 45 feet. If your setup is similar, don't count on checking alarms from the couch. Plan on walking closer to the grill when an alarm fires.
Step 4: Read the graph, not just the number, especially through a stall
The single feature that changed how I cook long smokes wasn't the alarm at all, it was the graph view in the Inkbird app. A raw number on a screen tells you where the meat is right now. A graph tells you where it's been and where it's headed, and that context matters most exactly when things look like they've stopped working.
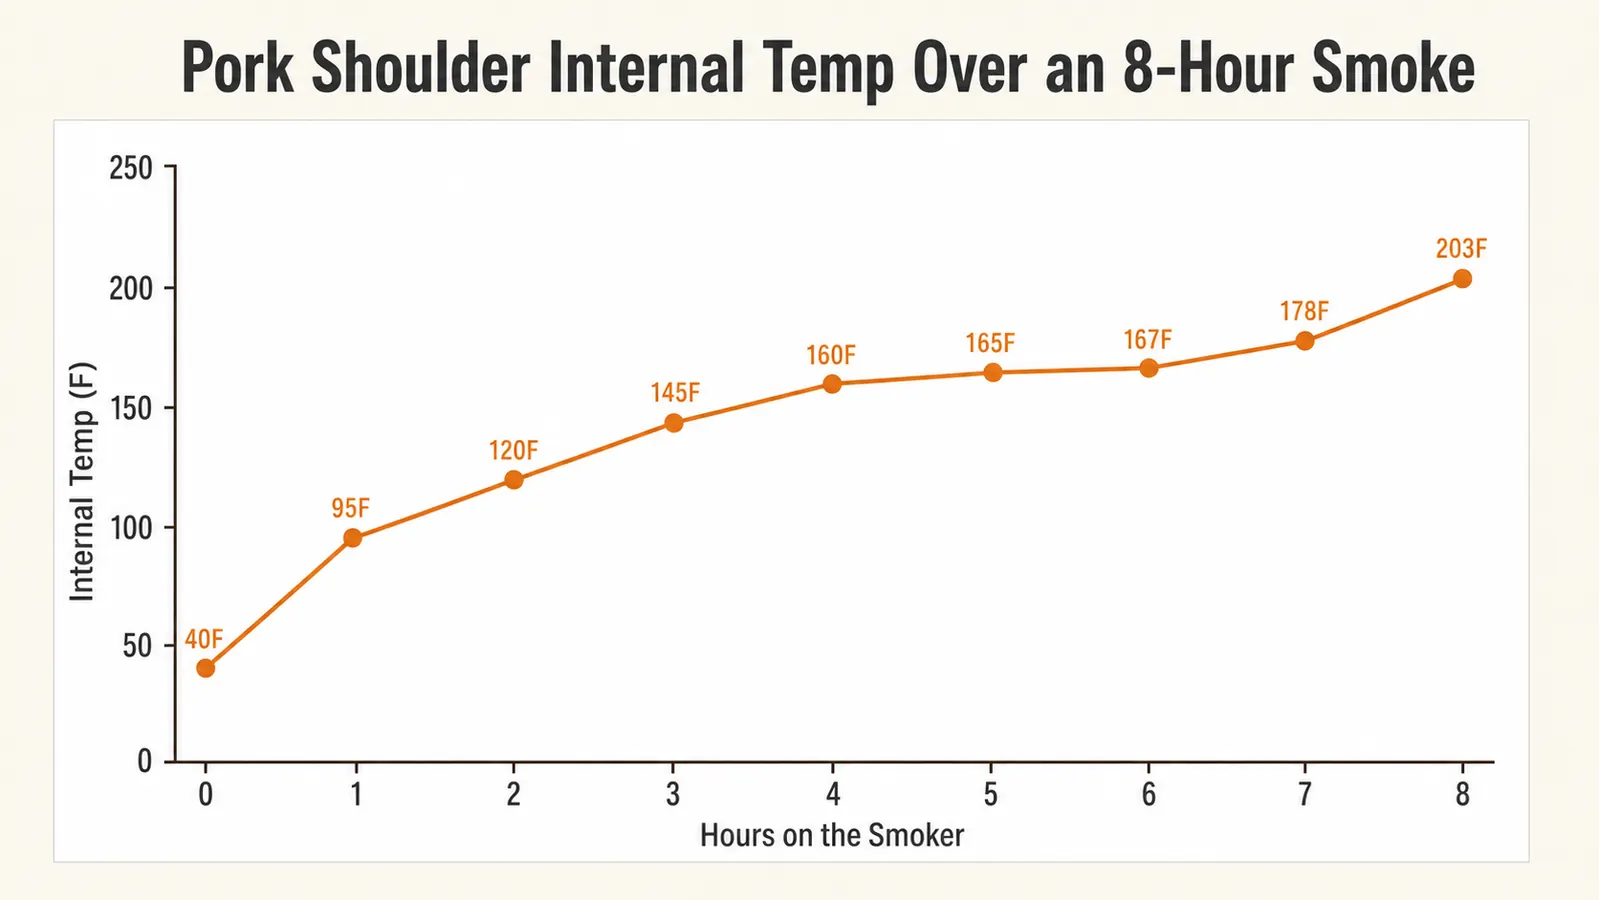
Every pork shoulder and brisket I run hits a stall somewhere between 150 and 170 degrees, where evaporative cooling off the meat's surface fights the smoker's heat to something close to a standstill. On a recent 8-hour shoulder, my internal temp climbed steadily from 40 degrees at the start to 165 degrees by hour five, then barely moved to 167 by hour six, a full hour where the number crawled two degrees. Without a graph in front of me, that looks like a broken thermometer or a dying fire. With the graph, I can see the line simply going flat, which is exactly what a stall looks like, and I know to leave the lid shut and let it work through rather than opening the smoker every few minutes to check on something that isn't actually going wrong.
That same shoulder climbed from 167 to 178 by hour seven once it broke through the stall, then finished at 203 by hour eight, the exact kind of second-half acceleration a stall almost always resolves into if you leave it alone. Knowing that pattern, and being able to see it happening in real time instead of guessing at it, is worth more to a long cook than any single alarm setting.
Step 5: Pull at the real number, rest properly, and cross-check the reading
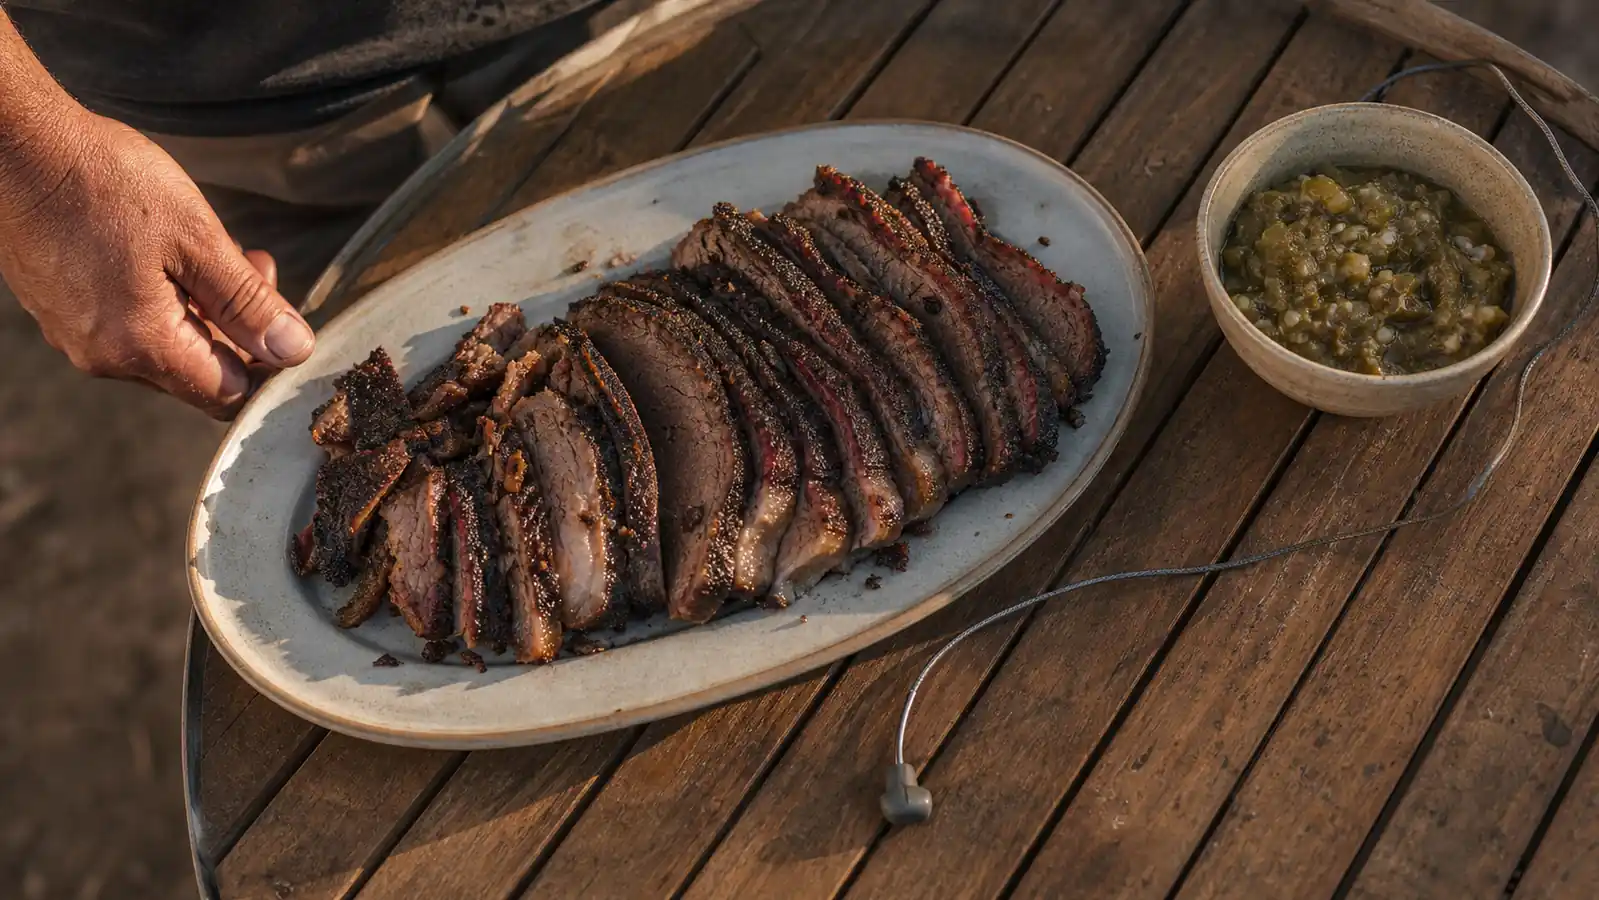
Once the meat hits its target, whether that's 165 for chicken, 145 for a steak, or 203 for a shoulder headed for pulling, I pull it off the heat and let it rest before cutting into anything. Resting matters for two reasons. Carryover cooking will push the internal temp up another few degrees on a large cut like a brisket or shoulder, even after it's off the fire, so pulling a couple degrees under a texture target and letting carryover finish the job is a reasonable move on big cuts. Resting also lets the juices redistribute through the meat instead of running out onto the cutting board the second you slice it. I rest a full brisket wrapped in butcher paper inside a cooler for about an hour before slicing, pork shoulder gets 30 to 45 minutes wrapped on the counter, and chicken thighs only need about 5 minutes since carryover on smaller pieces is minor.
Before I trust any probe blindly on a cook that matters, I still cross-check it against a calibrated instant-read thermometer every couple of months, dunking both in ice water and near-boiling water, remembering that near-boiling reads about 202 degrees at my elevation instead of the 212 most charts assume. Probes drift with age and hard use. I caught one of my four Inkbird probes reading about 2 degrees warm after seven months of regular use, nothing dangerous, but exactly the kind of drift you want to know about before it matters on a piece of chicken instead of a forgiving brisket.
The last habit worth building is trusting the probe over the clock. Recipe times are a starting guess, nothing more, and that's doubly true at altitude where a cook that runs 10 hours at sea level might run 11 or 12 up here depending on wind and fire management. I stopped watching the clock years ago. I watch the graph, I watch the number, and I open the lid a lot less than I used to.
What Else Helps
A wireless thermometer solves the guessing problem, but a few habits around it make the whole system work better. Keep a small notebook or a notes app entry logging pull temps and cook times for the meats you make often, since your own grill's quirks will teach you more than any chart. Replace batteries before a long cook rather than after a low-battery warning shows up at hour six, I keep a spare set of lithium AAAs in a kitchen drawer specifically for this. And don't skip the periodic ice-water check on your probes. It takes five minutes and it's the only way to know your numbers are still numbers you can trust, not just numbers on a screen.
A thermometer doesn't cook the meat for you. It just stops you from lying to yourself about what's actually happening inside it.
Five Steps, No More Guessing on Doneness
That's the full process, from picking a target temp before the meat hits the grate to trusting the graph through a stall. The Inkbird IBT-4XS is the wireless thermometer I run this whole process on, cook after cook.
Amazon Check Today's Price on Amazon →